
The fact that Nintendo’s famous Switch system can be used on both handheld devices and televisions is a big selling point.
However, for a more immersive gaming experience, you’ll definitely want to connect it to your TV!
So, how to connect Nintendo Switch to TV? It doesn’t matter. Miracle Box has the answer for you.
How to Connect Nintendo Switch to TV?
Read on for detailed step-by-step instructions on how to set up your Nintendo Switch to play games on your TV. We’re sure you’ll start playing games soon after reading Miracle Box’s guide!
Step 1. Gather Materials
Before delving into how to connect Nintendo Switch to TV, it is important to gather all the necessary materials. Having everything on hand will ensure a smooth, hassle-free setup experience. You will need the following items:
- HDMI cable. This cable is responsible for transmitting audio and video signals from the Nintendo Switch base to the TV. This is necessary to set up Switch to TV properly.
- TV. A television with an HDMI input port for connecting to the Nintendo Switch With minimal exceptions, the vast majority of televisions manufactured today have the HDMI input port that allows you to connect to the Switch successfully.
- Nintendo Switch. Your console with its dock and power adapter. Find a wonderful Nintendo Switch? Miracle Box is full of surprises with perfect and authentic products.
Once you have all these materials ready, you can proceed to the next step to locate the HDMI port on your TV.
Step 2. Finding the HDMI Port on Your TV
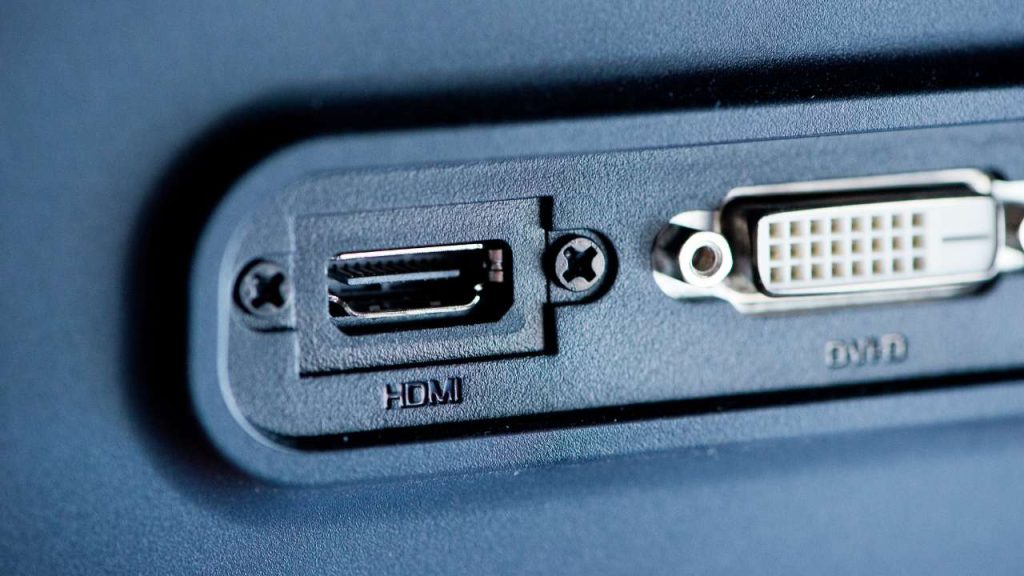
Before connecting your Nintendo Switch to your TV, it’s important to know where the HDMI port is located.
HDMI (High-Definition Multimedia Interface) ports are standard audio and video interfaces that allow you to transfer uncompressed digital signals between devices such as your Nintendo Switch and your TV.
To locate the HDMI port on your TV, perform the following steps:
- Turn off your TV. It is safer to search for the port used to connect to your Nintendo Switch with the TV turned off.
- Check the back or side of the TV. Most modern TVs have HDMI ports on the back or side. Look for the rectangular slot labeled “HDMI.”
- Count the available ports. Some TVs have more than one HDMI port, so make a note of which port you’ll be using to connect your Nintendo Switch.
Once you’ve found the HDMI port, you can connect the cables and continue with the setup process.
Step 3. Connect the HDMI Cable to the Device
Now that you’ve located the HDMI port on your TV, you can connect the HDMI cable. This step is critical in order to establish a connection between your TV and the Nintendo Switch dock. Follow these simple steps:
- Plug one end of the HDMI cable into the port on your TV. Locate the end of the HDMI cable and plug it into a free port on your TV. Make sure the cable is inserted into the port securely.
- Connect the other end of the HDMI cable to the Nintendo Switch docking station. With the back cover open, you can locate the HDMI OUT port and plug the other end of the HDMI cable, as well as the USB-C end of the host computer’s power cable, into the docking station.
Caution:
- Use the cable that came with the console for the most reliable results. If you have a Switch OLED, you also have the option of plugging in a LAN cable at this time for a more stable Internet connection.
- Make sure that both ends of the HDMI cable are inserted correctly and securely to avoid any connection problems.
Step 4. Connecting the Dock to Nintendo Switch
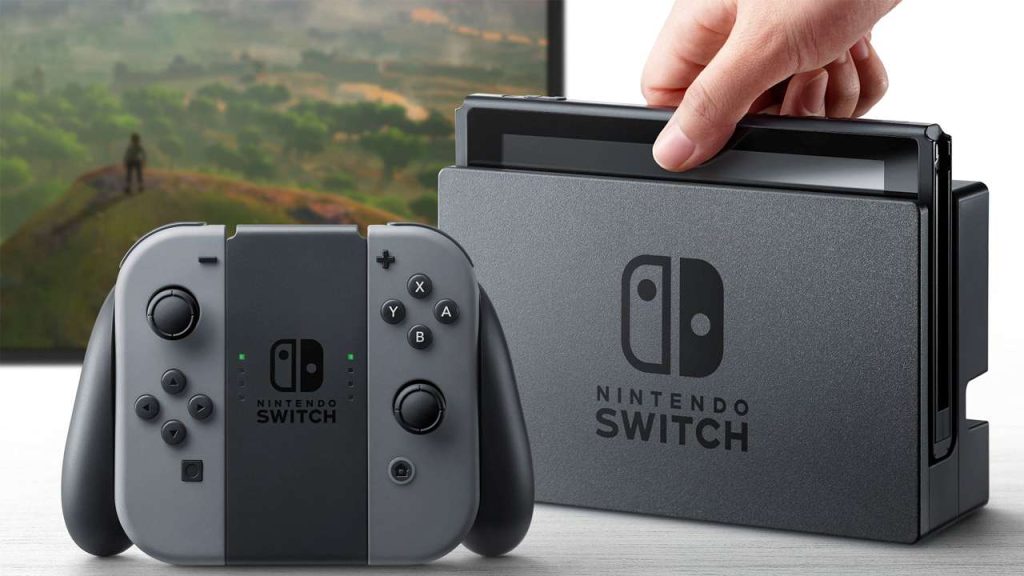
The Nintendo Switch dock doubles as a charging station, allowing you to display your games on a larger screen, such as a TV.
Now slide your Switch into the dock and snap it into place. You’ll know it’s working if a small charging indicator pops up on a small bar on the screen when the Switch is connected to the docking station.
Connecting the docking station to your Nintendo Switch console is simple:
- Make sure your Nintendo Switch is turned off.
- Orient the console so that the screen is facing the docking station.
- Gently slide the console into the docking station until it snaps into place.
At this point, you can run the cables you’re using through the slots on the side of the Switch dock and then put the cover back on it to keep it neat. Stick the dock anywhere you want, whether on a TV stand or in a cabinet.
Step 5. Turn on your TV and Nintendo Switch
Now that everything is connected, it’s time to turn on your devices.
- Turn on the TV.
- Press the power button on the top of the Nintendo Switch console.
Step 6. Select HDMI Input on the TV
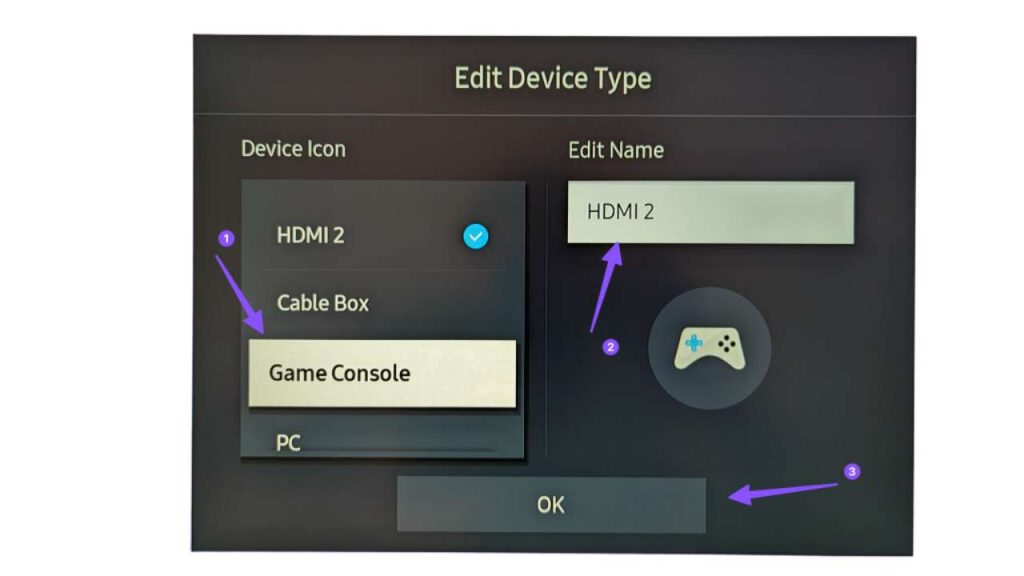
Once the Switch is turned on, you should be able to use it on your TV, provided the TV is turned on and set to the relevant HDMI input channel. The HDMI input is the connection point between your high-definition multimedia device and your TV.
To display the Nintendo Switch on your TV screen, you need to select the appropriate HDMI input. To find out the HDMI input on your TV:
- Pick up your TV remote control and locate the button labeled “Input,” “Source,” or a similar term.
- Press this button to display a list of available inputs on the TV screen.
- Use the arrow buttons on the remote control to navigate through the list until you find the HDMI input to which your Nintendo Switch is connected.
- Press the Enter or OK button on the remote control to select the appropriate HDMI input.
Your TV should now display the Nintendo Switch home screen. If not, double-check that all connections are secure and that both devices are powered on.
Step 7. Configure Nintendo Switch Settings
The final step in how to connect Nintendo Switch to TV is to adjust the settings for an optimal viewing experience. The Nintendo Switch Settings menu offers a variety of options, such as screen resolution, audio output, etc. To set up the preferences, please refer to the instructions below. Follow the steps below to configure your settings:
- Access the Settings menu. On the Nintendo Switch home screen, navigate to and select the System Settings icon, which resembles a gear.
- Adjust Screen Resolution. Under the TV Output category, select TV Resolution. Select the appropriate resolution (720p, 1080p, or Auto) based on the capabilities of your TV.
- Configure Audio Output. Go to “TV Sound” in the same category and select “Auto,” “Stereo,” or “Mono” according to your preference. Mono” according to your preference.
FAQs
Why can’t my Nintendo Switch connect to TV?
There are multiple reasons why it won’t connect after getting the techniques of how to connect Nintendo Switch to TV, and the following are worthwhile checks:
- Step 1. Check that all connections are perfect, including both ends of the HDMI cable and the Switch’s power cord.
- Step 2. Ensure that the Nintendo Switch handheld is properly mounted on the dock and powered on.
- Step 3. Ensure the TV is equipped with the correct input for the HDMI port that the Switch is connected to, such as HDMI 1 input for HDMI In 1.
If you confirm that all of these aspects of the hardware connection are correct and it still won’t connect, try using a different HDMI cable or HDMI port on the TV, as the first of these may be faulty. Unfortunately, the remaining issues may include hardware problems with the Switch or the dock.
Can I connect the Switch to my TV without the included dock?
Yes. If you want to connect your Switch to a friend’s house or vacation home, you don’t need to bring the entire dock with you.
However, you will still need some form of adapter. This could be a smaller travel-type dock or the USB-C to HDMI adapter that laptops have.
Just make sure the model you choose specifies that it’s compatible with the Nintendo Switch.
Can I connect the Nintendo Switch to the TV wirelessly?
Unfortunately, there’s no way to connect your Nintendo Switch to your TV wirelessly at this time.
While using a wireless HDMI adapter, you’ll still need to connect a wired transmitter adapter to your Switch, which obviously doesn’t fit the idea of “wireless” either.
In addition, the Switch doesn’t support built-in projection technologies like Google Cast or Apple’s AirPlay.

Ethan is a tech-savvy enthusiast and gadget guru. With a passion for exploring the latest advancements in office technology, E’s reviews dive into the world of smart gadgets, from wireless chargers and noise-canceling headphones to cutting-edge computer peripherals that enhance productivity and convenience in the modern workplace.
Leave a Reply